
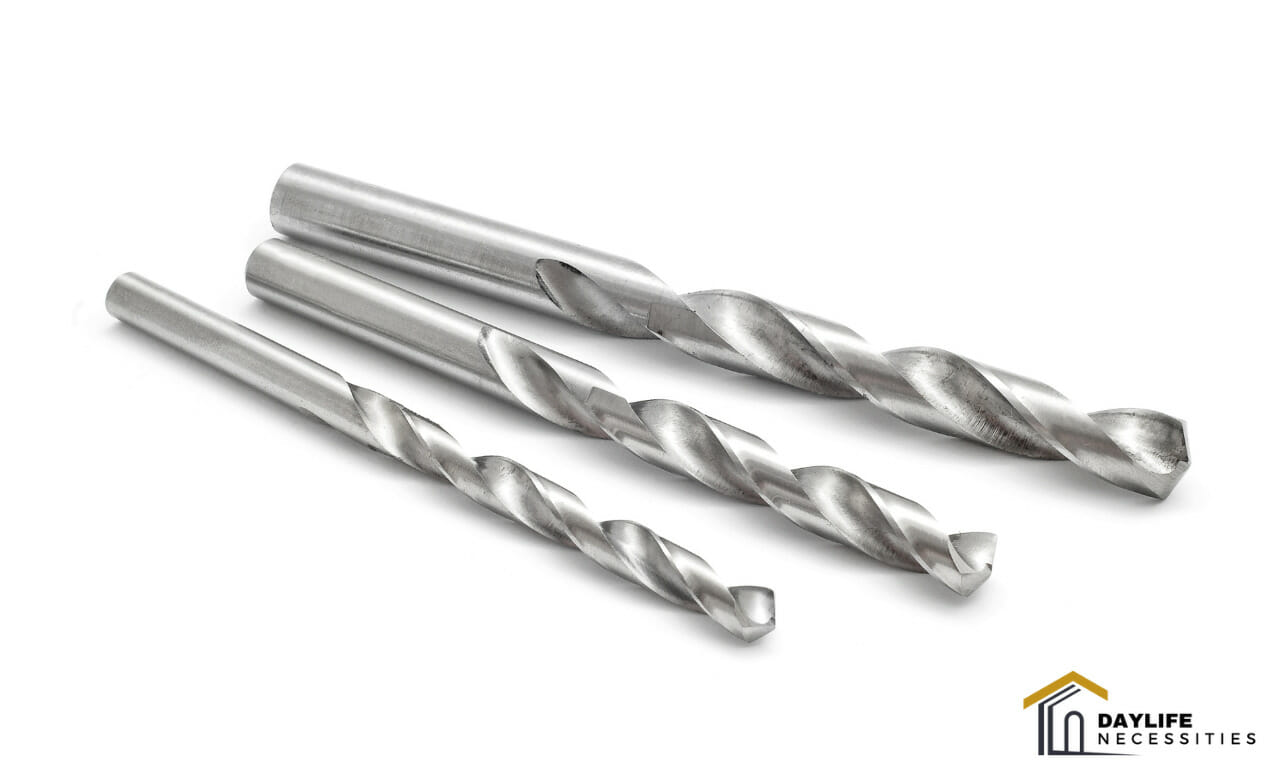
A broken drill bit is probably the most frustrating thing that can happen in your home. A broken drill bit will make a screeching noise whenever you try to use it and the only way to fix it is to replace it. But, this cannot be done immediately.
How would you remove a broken drill bit when there are no screws or other DIY tricks at your disposal? Luckily, there’s an easy solution for this that does not involve calling professional contractors or spending loads of money on replacement bits.
In this blog post, you will learn how to remove a broken drill bit the easiest way possible so you don’t have to suffer through the frustration again.
What Is a Broken Drill Bit?
Drill bits are one of the most common causes of broken drill bits. They are manufactured from high-quality materials and if used carelessly or misused, they may break.

The two most common reasons for a broken drill bit are overheating and impact. Overheating occurs when the bit gets too hot.
A bit that is too hot may cause plastic deformation or even melt. Impact occurs when the bit hits a surface that is harder than the material it was made out of.
This is more common when drilling softer materials like wood and fabric. Additionally, a broken drill bit may be due to improper bit lubrication.
A broken drill bit occurs when the bit overheats and causes the metal to melt, thus making it unusable. When a bit overheats, the metal expands and contracts rapidly.
The bit coatings inside the bit are usually made of metal compounds that can expand and contract at the same rate.
However, if the bit is expanding too much for the coating to handle, it may break.
Read Also:
- What Happens if You Drill into a Live Wire? – The Answer Will Surprise You
- How to Build a Shower Pan on a Concrete Floor: A Comprehensive Guide
- How to Combine Tile and Wood Flooring: A Perfect Blend of Style and Functionality
How to Remove a Broken Drill Bit – An Effective Way
When dealing with a broken drill bit, the first step is to identify its type. A useful trick is to use a magnet to secure the broken segment and then look for any distinctive markings such as letters or numbers to determine the bit type.
If the broken bit is a standard twist bit, you’ll need a twist drill bit removal tool with a wider tip than a regular drill bit. These removal tools typically come in pairs of right-hand and left-hand versions, suitable for reverse-handed drill bits.
Once you’ve identified the type of broken drill bit, it’s essential to determine the appropriate method for removing it. For the two most common types, broaching or drilling is necessary.
Broaching is the preferred method when the broken bit is less than half its original length. This technique involves placing the broken bit into a broaching tool with a cutting edge that removes the bit lengthwise. However, it’s important to note that broaching is typically used as a last resort when the bit is beyond repair.
Best method for Removing Broken Drill Bits
According to WIKIHOW Removing a broken drill bit is not always as straightforward as it seems! Whether the bit is stuck in metal, wood, drywall, or any other material, you can free it by clamping a pair of locking pliers onto it and rotating the bit counterclockwise.
If the drill bit is deeply embedded in the material, chisel off any jagged edges, create a divot with a center punch, bore a small hole into the broken bit, and then use a tap extractor to remove it.
You can also take preventative measures to help prevent the drill bit from breaking in the future.
Method 1 Pulling out a Broken Drill Bit
Wipe the end of the broken bit with a clean cloth: A clean cloth may be utilized to wipe down the end of a broken drill bit to make it difficult to grip with a pair of pliers.
A coating of lubricating oil and small bits of debris may be applied to the broken bit to make it difficult to grab.
Clamp a pair of locking pliers onto the broken end of the bit: Place the jaws of the pliers on the end of the broken drill bit and squeeze the handles together. Continue squeezing until the jaws remain closed around the broken bit.
- Wiggle the pliers around a little bit to test that they are secure.
Tips: Use pliers with serrated jaws to grip the end of a snapped drill bit if you do not have locking pliers.
Rotate the pliers counterclockwise to loosen the drill bit: To start unscrewing the broken bit, keep the pliers clamped shut on the end of the broken bit and begin turning the opposite direction that you were drilling, which is generally counterclockwise. When the broken bit starts to turn, continue rotating the pliers to start removing it.
- It might be difficult to turn the pliers at first, but the drill bit will become easier as the turn progresses.
- Apply a small amount of cutting oil to lubricate the broken bit and help it turn.
- snapping, bending, or jerking the pliers may break off the end of the drill bit and make it harder to remove.
Pull the drill bit out of the material gently: When the bit has been broken down, keep turning the pliers until the threading is almost out of the material. Pull out the bit gently and wiggle it.
- Keep the drill bit turning until it becomes loose enough to pull out. Don’t try to yank it out.
Method 2 Using a Screw Extractor
Put on a pair of safety glasses to protect your eyes: Extracting a broken bit can cause small shards to fly off at high speeds, which may pierce your eye and potentially blind you. Before working to extract the drill bit, put on a pair of sturdy safety glasses.
- Safety glasses can be found at home improvement stores, department stores, and online.
- Make sure the glasses fit your face properly and there are no gaps around the edges to keep your eyes safe.
Chisel off any jagged edges of the broken drill bit: To extract the broken bit, you need a flat surface on the end of the drill bit. Using a chisel, put the end of the broken edge against the opposite end of the chisel. Then, strike the chisel end with a hammer to break off any jagged bits.
- Chisel the bit until you’ve created as flat of a surface as you can.
Create a divot on the bit with a center punch: A center punch is a metal tool with a point you can use to create a divot to help guide the bit that you’ll use to break through the wood.
It is used to make a divot at the end of a broken drill bit to assist with the drilling process. Use a hammer to strike the divot at the end of the center punch.
- Make an indention in the center of the broken drill bit.
- Center punch tools can be purchased at hardware stores, home improvement stores, or online stores.
Insert a smaller drill bit into a power drill and apply cutting oil to the end: Instead of using a larger-diameter drill bit to repair the damaged bit, use a smaller one and secure it to your power drill.
Before drilling through the metal of the broken bit, apply a drop of cutting oil to the bit to make the job easier.
- Apply cutting oil to both sides of the broken drill bit to help free it.
- Hardware stores and online sell cutting oil.
Drill about 1⁄4 inch (0.64 cm) into the broken bit: Place the severed bit end onto the divot you created with the center punch. Start the drill slowly and keep it aligned with the broken bit so it drills straight into it.
Now, bring the drill up to full speed and apply pressure with your hands to drill into the broken bit end.
- Hold the drill straight while working to avoid causing the bit to wobble. Please keep the bit straight and drill straight into the piece.
Insert a tap extractor onto the drill bit: To remove a broken drill bit or tap, use a tap extractor with a long handle. You can use a tap extractor to remove a broken drill bit or tap.
Insert the top of the tap extractor into the hole you created in the broken drill bit. Then, secure the extractor with the collar as far down as you can by hammering the end and sliding the metal down.
- Find a screw extractor that fits into the hole you created.
- Hardware stores, home improvement stores, and online all have screw extractors.
Turn the extractor counterclockwise to remove the broken drill bit. Using a wrench that fits on top of the extractor, turn it until the broken drill bit comes out of the material it is embedded in.
- Be prepared for the extractor to be difficult to turn at first. Once the broken bit is loose, the process should become easier.
- Apply a drop of cutting oil over the broken bit to make removal easier.
Method 3 Preventing Future Breaks
Before drilling into anything, including metals or steel, apply a drop of cutting oil to the end of your drill bit to prevent it from snapping off and to avoid your drill from overheating.
- Hardware stores and online are where you can find cutting oil.
Insert the drill bit as far into the drill as possible: Before using the tool, push the bit as far into the tool as possible to keep it secured and reduce the amount of strain on it, which will keep it from snapping off while drilling into something.
- Always tighten the chuck completely when installing a new bit.
Bring the drill up to speed slowly when you work: Before starting to drill, place the tip of the bit against the material to be drilled and start the drill slowly.
Start the drill at full speed slowly so it does not stress and burn the bit, which will keep it from breaking easily.
- When drilling at full speed, a hard material like metal can cause the drill bit to slip.
Conclusion
Drill bits are one of the most common causes of broken drill bits. They are manufactured from high-quality materials and if used carelessly or misused, they may break.
The two most common reasons for a broken drill bit are overheating and impact. A broken drill bit may be due to improper bit lubrication or overheating.
Luckily, there’s an easy solution for this that does not involve calling professional contractors or spending loads of money on replacement bits.
All you need to do is follow these steps to remove a broken drill bit: Secure the broken drill bit in a vice. This is very important.
You will only be able to remove the broken drill bit if it is securely placed in the vice. You can use a regular drill bit to secure the broken bit in the vice.
This is the best way to do it. Use a broaching bit to remove a broken drill bit that is less than half its original length.
Broaching a broken bit more than half its original length will be very difficult and impractical.

